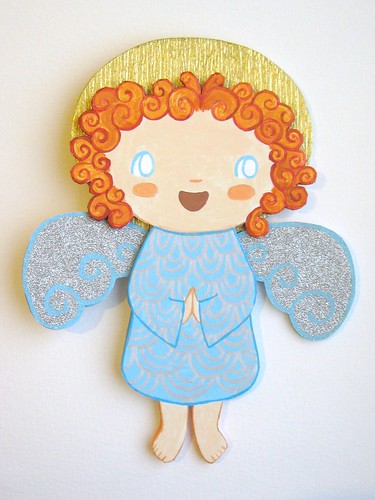
Hiya! I'm trying to get this Angel Bunny finished because I don't feel I can put our Christmas tree up until I have! You see, she's going to go on the top. Well, I finished her halo last night and I wanted to share some pictures with you.
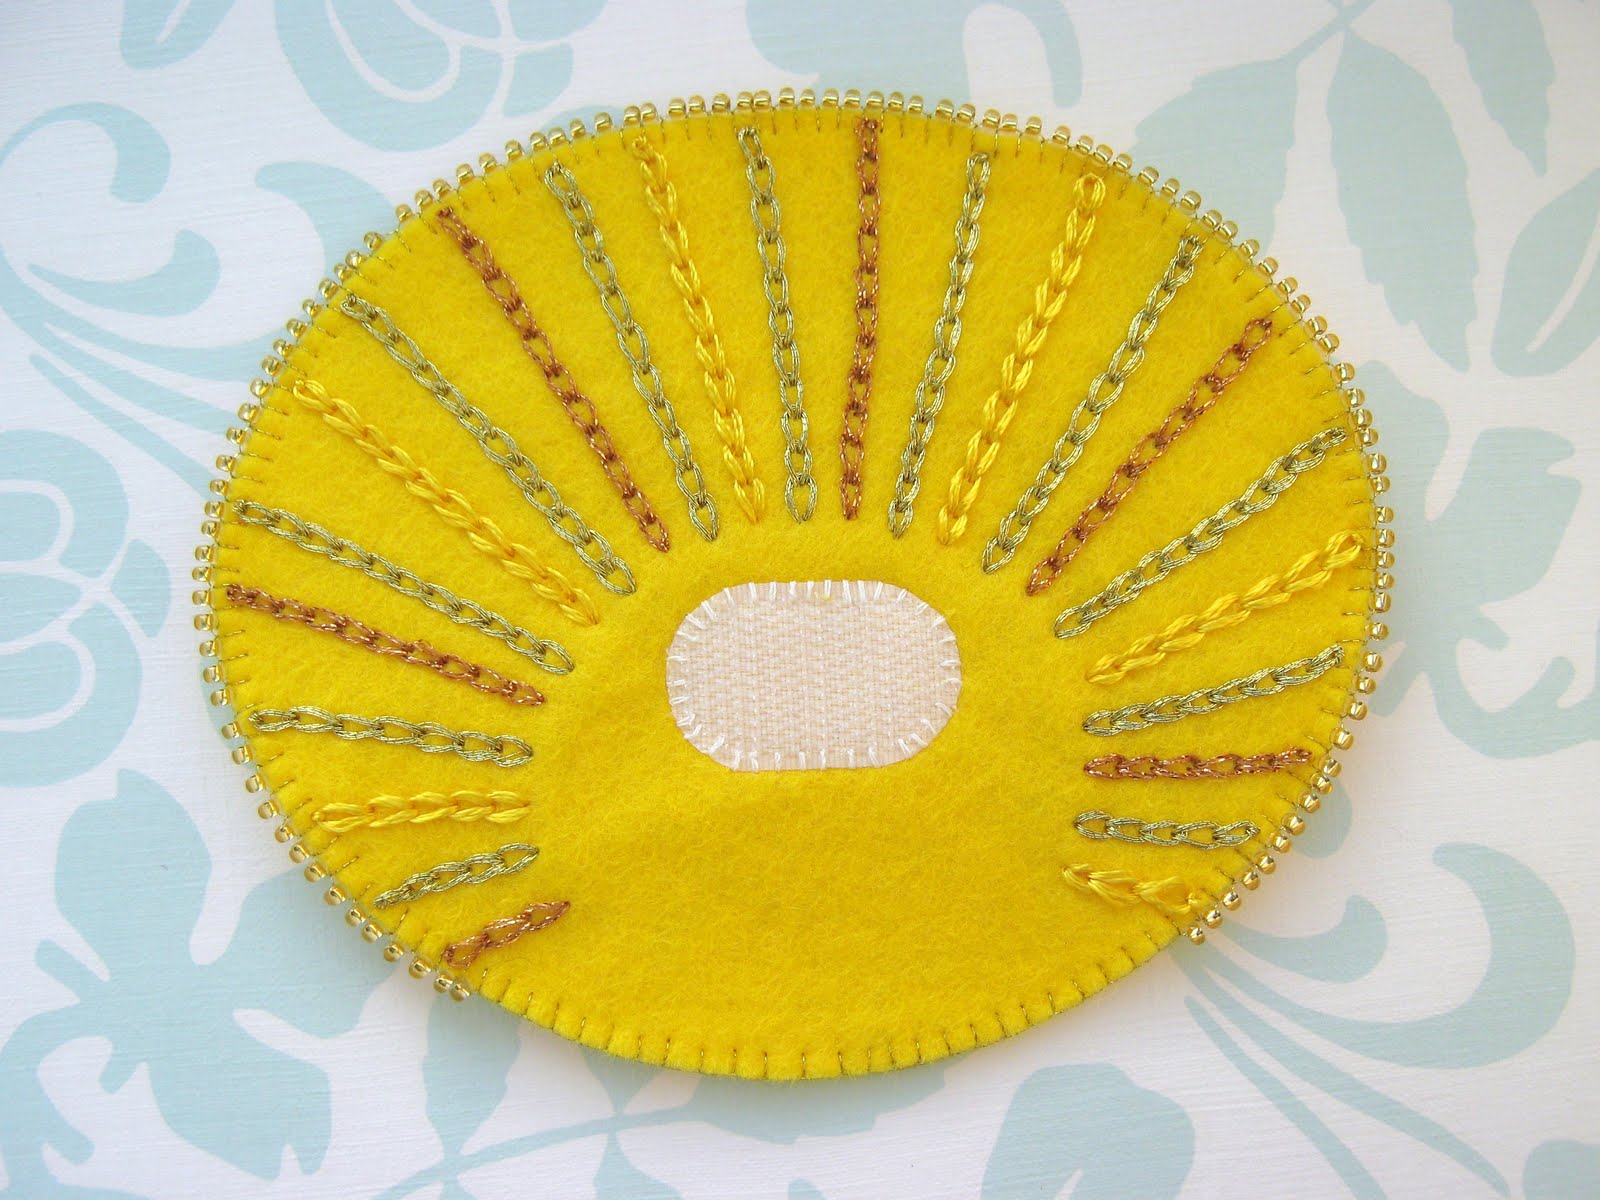
You will remember that I already cut out the felt pieces and backed them with iron-on Vilene the other day. I made a template for the 'rays' of light (lines of chain stitch) that I wanted, and used that to draw the lines straight onto the felt with fade-away pen. I think the warmer and dryer your room, the quicker this disappears, as I had to re-draw the lines a couple of times.
I used three different threads; Anchor gold lamé thread (which you have to divide as it's six-stranded), Gutermann coppery metallic thread and DMC yellow satin thread, which is super-shiny and quite 'slinky' to work with - it slips around really easily.
I've decided that it will be easier and better to Velcro the halo to the back of bunny's head, so I positioned the hooked-side of the velcro to the front of the halo and hand-stitched it on.
I wanted a bit of stiffness to the halo as well, so I cut a piece of milk bottle plastic (which I save from milk bottles to make the bigger version of the iq lampshade... look at
the first one I made, nearly two years ago and still going strong!). I use this type of plastic quite frequently when I want something to be stiffened but not padded, as there's less chance of it getting bent like cardboard may do, and it has more stiffness than craft-weight interfacing (i.e. the thickest sort you can get).
I glued the felt back and front of the halo to the plastic piece then sewed around with blanket stitch, adding a gold seed bead before every stitch to make a shiny beaded edge! Which I love, I have to say!
What do you think? Fit for an Angel Bunny?
So now all I have to do is make her wings up and put her all together! Which I am going off to do right now!
Stay Warm!
(unless you are in the Southern Hemisphere, in which case, stay cool!!)
Best Wishes
Joey x