
Hello! I hope you've all had a fantastic Christmas!
Well I had a brilliant Christmas Day, although I always find the days after Boxing Day a bit of a comedown after all the eating, drinking and merry-making in general and now I lack the energy to do anything other than sit on my bum watching films... Hence no blogging, sewing or photography. Anyway, it's a New Year very soon, and I'm going to try to bring you loads of patterns, tutorials and general bloggy goodness never seen before on Joey's Dream Garden blog! Hurrah!

So, to start off, let's have that Angel Bunny tutorial I've been promising you! I know it's a bit late - I'm sorry about that - but I do hope you have a go at making her. It does mean that you have a whole year to make her for next Christmas! How's that for forward planning? ;-) If you don't want to sew an Angel Bunny but still want one - don't despair, as I've included some alternatives at the end of the tutorial - just scroll to the bottom.
How to Make a Felt Angel Bunny
You will need:- Angel Bunny templates: download here: Joey's Dream Garden copyright 2010 Angel Bunny Templates -
- Felt in pale pink, white, yellow or gold, and pale blue
- Iron-on medium weight Vilene interfacing
- Milk bottle plastic or similar plastic which you can easily cut with scissors - *see below about milk bottle plastic.
- Embroidery thread in metallic silver, metallic gold, deep pink, blue, black, white and pink to match pink felt
- Gold-lined glass seed beads (I used approx 110 beads)
- Pins
- Embroidery and hand-sewing needles (including a needle small enough to pass through holes in seed beads but big enough to take the gold metallic thread)
- Toy stuffing (polyester or natural cotton or wool toy filling)
- Baking paper or tracing paper
- Ordinary pencil, (2H if you have it)
- Velcro, approx. 7cm
- White sewing thread
- Fabric glue - UHU or similar
- Glue stick - I use Power Pritt
- Green ribbon or ric-rac (I used dark green velvet ric-ric), 30cm, to tie to the tree
Steps to Make the Angel Bunny:
1. Print out the templates and patterns below and cut out.
2. Cut out Vilene roughly to the size plus a bit extra all round, of each of the wings, the halo, the body, the head and the legs - you will need two of each shape (except four wing shapes; back and front for each wing and just one paws piece).
3. Iron the Vilene pieces onto the appropriate colour felt following the instructions - about 8 secs with a dry iron.
4. Draw around the templates onto the Vilene-backed felt with a pencil and cut out.


5. Glue the head and the legs onto the back of the body piece, using very small dots of glue. Do this for both front and back. To ensure all the pieces are correctly aligned, you might want to print out another whole-bunny template and place them on top to help you position the pieces as you glue them.
6. Trace the the pattern on the wings onto baking paper, then pin and then baste the traced pattern onto the felt side of the wings. Ensure the pencil lines are uppermost, so they don't rub off onto the felt and make dirty pencil smudges.

7. Embroider the curving lines on the wings in stem stitch, on top of the tracing paper.
8. When you've done the embroidery, carefully cut and tear the baking paper away. I use a pair of tiny scissors for this, and a pair of tweezers which is handy for grasping tiny bits of paper with one hand, with your thumb on the embroidery and carefully tearing the paper away. This takes a bit of time and patience but I find it a quick and accurate method of tranferring detailed patterns for embroidering.

9. Repeat the process for the embroidering the other pieces with the following stitches:
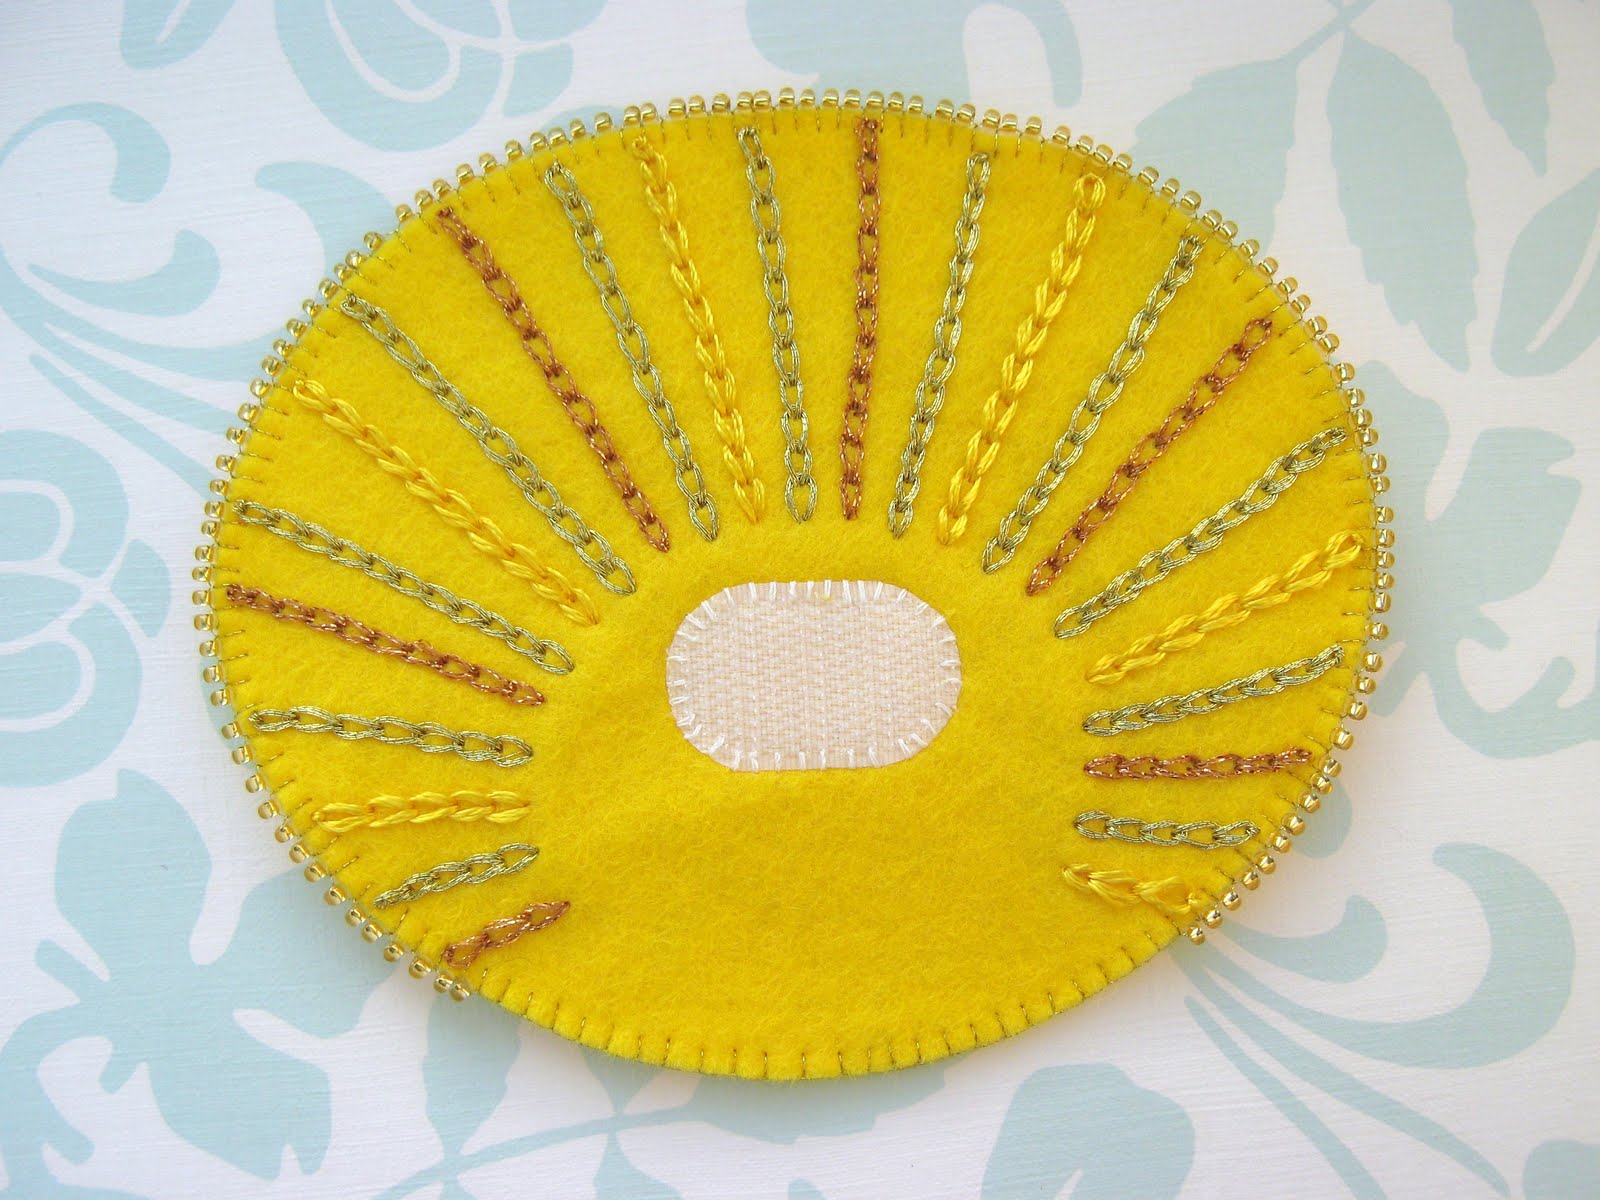
Halo: all radiating lines in chain stitch (I drew the lines on with fade-away pen, but using baking paper would be just as effective, possibly even more so)

Eyes, nose and mouth outline: split stitch

Whiskers and ears: stem stitch
Teeth, tongue and mouth: satin stitch


11. Trace the lines of the robe sleeves onto baking paper, baste to the front of the dress and embroider in stem stitch.
12. Cut small circles of Velcro and hand-sew the fluffy part onto the back of the bunny and the hooked part onto the front of the wings where indicated.

15. Glue the plastic wing shapes sandwiched inside the wing felt pieces using the glue stick (take care to glue stick the wrong sides to the plastic, not the felt side. It's easy to mistake white felt for white Vilene so take your time to ensure you get it right.
16. Blanket-stitch all around each wing in silver embroidery thread.
17. Repeat the last step with the halo, but when you blanket-stitch around the outside (in metallic gold thread), pick up a seed bead before each stitch, then make the stitch as you would usually, to make a beaded edge.

19. Place the rabbit pieces wrong sides together, sandwiching the plastic piece inside but don't apply any glue. Holding all pieces together, and starting at the point where the head meets the dress, stitch around the edge in blanket stitch. When you've nearly stitched the first ear, start to stuff a bit of toy filling either side of the plastic insert, so both back and front are softly padded.
20. Continue stitching around and stuffing the bunny as you go. This will be a little tricky, but take your time to ensure the stuffing is evenly distributed because it will affect the final look of the bunny.
21. When you've finished stitching around the edge, stitch across the 'neck' in backstitch with pink thread so it's hardly visible, to shape the chin nicely. You will be stitching through the plastic insert, so you may need to wear a thimble to push the needle through.

If you have any questions about making this Angel Bunny, just leave a comment and I'll attempt to answer as best as I can!
Alternatives to Sewing the Angel Bunny
If you're not really into sewing, here are a few suggestions for other ways to make the Angel Bunny:
- Print out the wings, body and halo and glue onto separate pieces of card, colour them in with paints or pencil crayons, and attach the wings and halo to the back of the bunny with sticky foam pads or glue.
- Print out the whole bunny and place underneath a piece of acetate. Use glass paints to trace and colour-in the bunny to make an ornament for your window.
- Trace the individual pieces onto textured handmade papers or patterned fabrics and cut out, then glue onto card to make a sort of collage. Decorate with lots of glitter and sequins if you want!
Best wishes, and keep enjoying the holidays!
Joey xx

I just bought my first embroidery threads today! (inspired by your work! ;)) I don't think I can do something as complicated as this first go, but am hoping to do some little decorative things for a pouch or something~
ReplyDeleteHappy New Years Joey~
Hi Chi! Oh that's so cool that you're going to have a go at embroidery! Yes, you need to start with something really simple and small to give you a sense of achievement, then gradually work up to more complex things. I really recommend the following websites, the first for instructional stitch videos: http://www.needlenthread.com/videos
ReplyDeletethe second is for general inspiration and features on embroidery artists etc: http://www.feelingstitchy.com/ and the last is the Hoop Love Vintage Transfers group on Flickr: http://www.flickr.com/groups/hooplove/pool/ where you can use out-of-copyright patterns for free (and post any that you find too!)
Good luck with the embroidery, and let me know how you get on! (love to see your first piece!)
Best wishes
Joey x
Hey Joey!
ReplyDeleteFabulous tutorial thank you so much for sharing it is very generous of you. I love yoru angel so beauiful. Your embroidery is always perfect.
hugs
Claire x
Thanks so much for the links for the tutorials Joey! I was going to search through your blog later to see if you have tutorials of the basic stitches! X3 I think I'm going to try do some basic embroidery on the flower on a wallet that I plan to make! Thanks so much again Joey! XD
ReplyDeleteHi Claire! Thank you for your lovely compliments, I really appreciate them.
ReplyDeleteHi Chi! You're welcome! No, I've never got around to doing tutorials of basic stitches, because I think there's plenty of guidance out there in books and on the internet and from your friends and family that I would be re-inventing the wheel a little. Hey I can't wait to see the embroidery on this wallet you're going to make, fabby!
Best wishes
Joey x